- Published on
How to show popular posts using PostHog
Just like in this website!
- Authors
- Name
- Nico Prananta
- Follow me on Bluesky
This website is using Posthog for collecting analytics data. When I first heard about it, I thought it was just another complicated web analytics tool. But I was wrong. Posthog is a powerful tool that can help you understand your users better and make data-driven decisions.
It also has an API that allows me to get data from Posthog in my own website. I'm using it to show the most popular posts on my blog. Here's how you can do it too.
First, you need to sign up to Posthog. It has a free plan that allows you to collect data for free for up to 1 million events per month. What's important is that you can set a monthly billing limit!
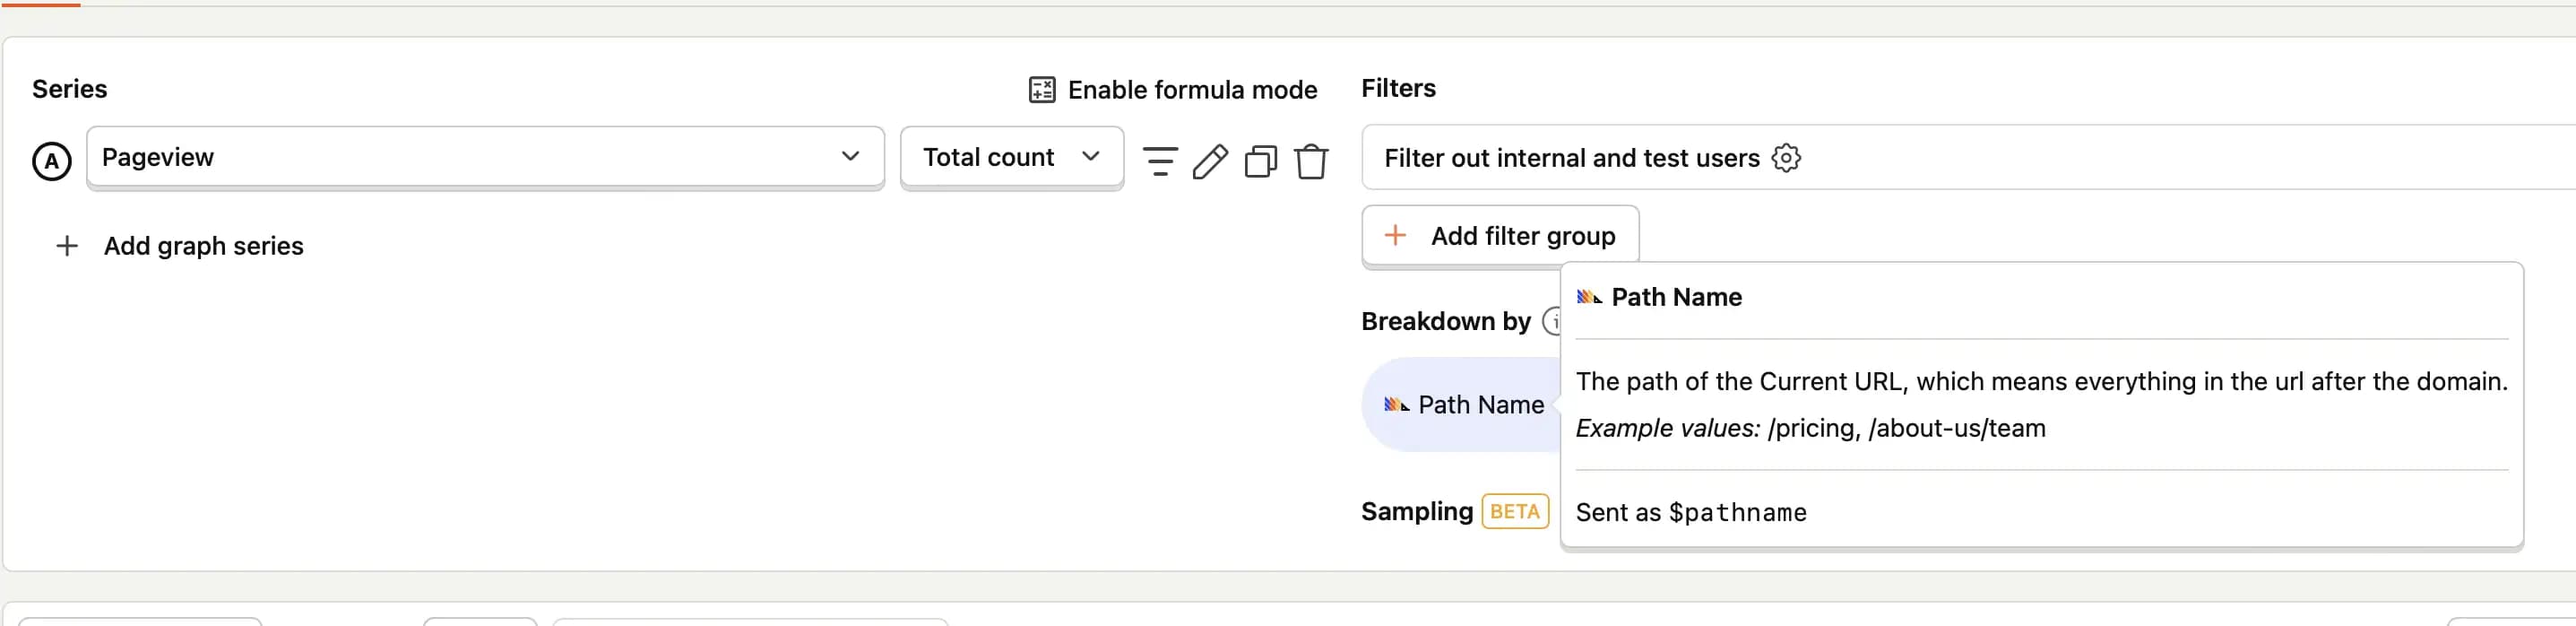
After that, create a new project. It's not difficult. Just follow the instructions on the website. Once you've got the project set up and the data is starting to come in, you need to create a new insight. The most important thing is to choose "Path Name" in the "Breakdown by" field. Don't forget to "Save" the new insight.
Image
Next, you'll need to create a new API key with insight:read and project:read permissions. To do this, go to the "Personal API Keys" page in the Settings page and click on "Create personal API Key". Make a note of the generated API key.
Before we can get the data from the insight we just created, we need to know the insight ID. This isn't the same as the string you see in the URL when you open the insight in the Posthog dashboard. You can find the ID by calling the API using the API key you just created.
curl  -X GET \
  'https://eu.posthog.com/api/projects/<project_id>/insights/' \
  --header 'Authorization: Bearer <api_key>'
Swap out the <project_id> for the ID of the project you set up and the <api_key> for the API key you just created. You can find the project ID in the URL of the project in the Posthog dashboard. The response will look something like this:
{
  "count": 11,
  "next": null,
  "previous": null,
  "results": [
    {
      "id": 12345, // <-- this is the insight ID
      "short_id": "the_id_you_see_in_the_url",
      "name": "Weekly Active Users",
      "derived_name": "Pageview WAUs",
      "filters": {
        "events": [
          {
            "id": "$pageview",
            "math": "weekly_active"
The insight ID is the number in the id field. Just a heads-up: this insight ID is important.
Finally, we get the insight data from Posthog API using the API key. Here's the code in TypeScript:
const response = await fetch(
  `https://eu.posthog.com/api/projects/${process.env.POSTHOG_PROJECT_ID}/insights/${process.env.POSTHOG_INSIGHT_ID}`,
  {
    method: 'GET',
    headers: {
      Accept: 'application/json',
      Authorization: `Bearer ${process.env.POSTHOG_API_KEY}`,
    },
  }
)

const jsonData = await response.json()
You can check out the full code for the component that fetches the data and renders it for this website here.
Another great thing about Posthog is that I can share the insights and embed them on my website. You can check out some insights for this website on the Insights page.
By the way, I'm making a book about Pull Requests Best Practices. Check it out!